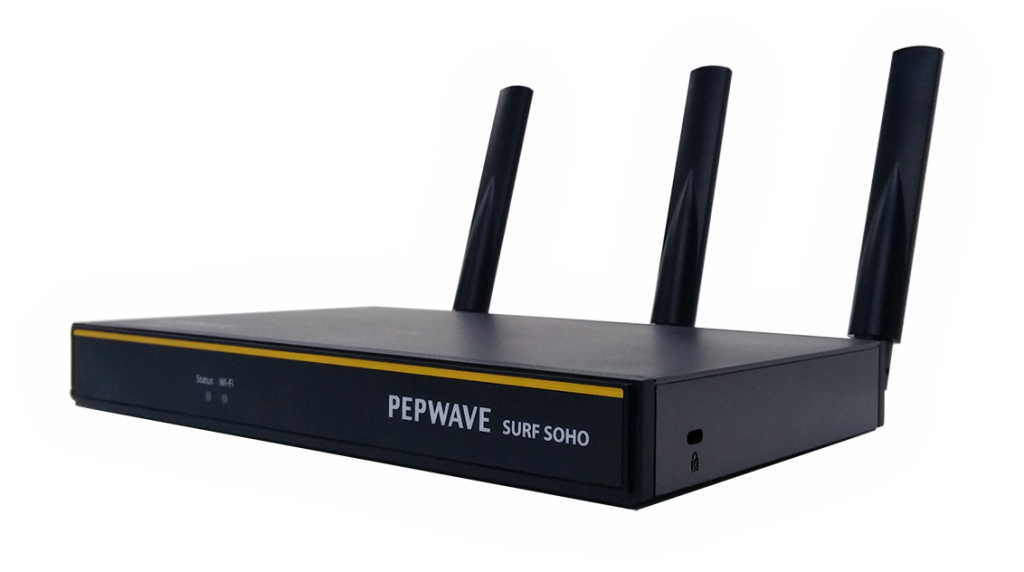
I received a Pepwave Surf SOHO Mk3 wifi access point and router from Peplink for installation in the Smart Home on Wheels project and finally got it a few days ago. It was shipped quickly, but arrived at our home base in Florida and we weren’t able to get it from there until this week. I set it up, got it working, and while it does its job properly and easily, our current location is a severe bottleneck so I’ll be adding to this when we move to a different campground in a week where we can really test the speed. We will also be adding some more devices to the network when we get them, but so far, the Surf SOHO does its job.
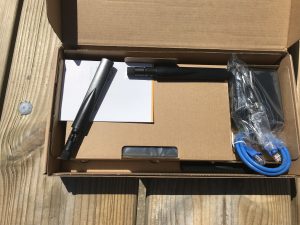 First off, there isn’t much in the box. There is the router itself, a power cord, an ethernet cable, three antennas, and a small setup booklet. That’s really all there is to it, but you don’t need any more than that initially. I would have liked a better manual, but the one that is available as a PDF on peplink.com fills in the gaps that the small startup guide is missing.
On the back of the router are several ports. There are three antenna connections, five ethernet ports, one USB port, the power port and a reset hole. The three antennas are screwed in (they are all identical so it doesn’t matter which one goes where). The ethernet ports are labeled LAN1, 2, 3, 4 and WAN. If connecting to a modem via ethernet, the cable will go from the modem to the WAN port. The LAN ports are then for hardwired devices. The USB port is for connecting a modem that only has a USB option, power is self explanatory, and the reset hole is a small pinhole that is common on electronics to reset it to the default settings. Since it is small and requires something tiny to push in and hit the button inside, there is very little risk of hitting it accidentally.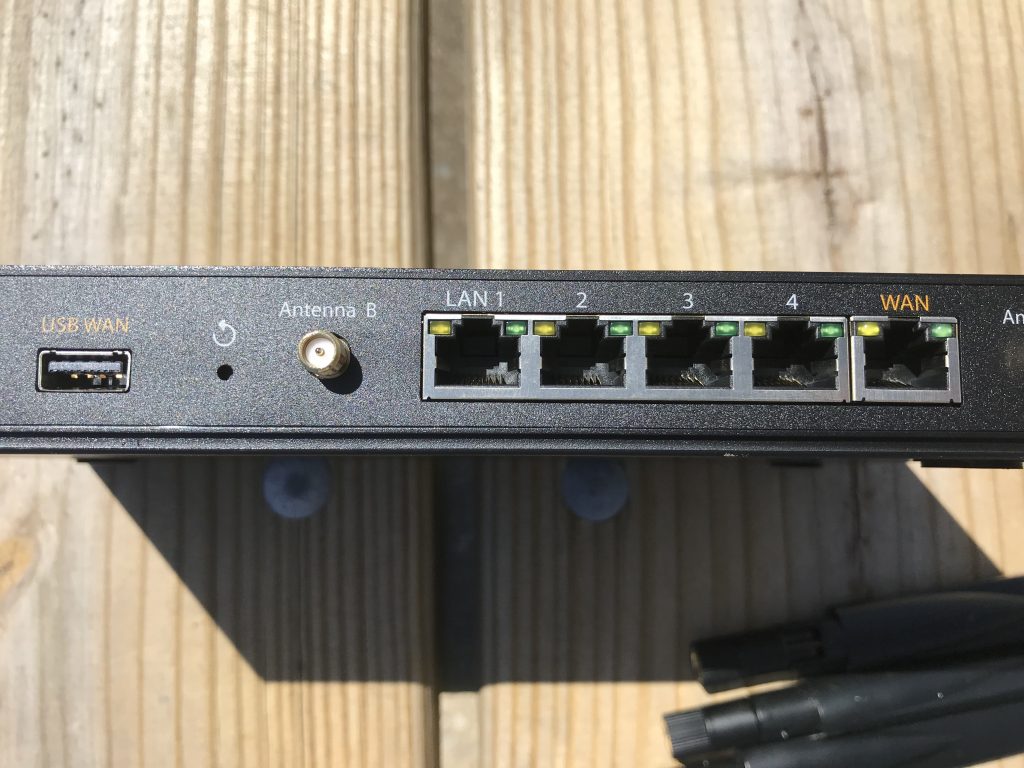
To set it up, first screw in all three antennas. They are all identical so it doesn’t matter which one goes where. They are jointed so that they can always be pointed vertically, regardless of the way the router is mounted. At the moment, ours is sitting on a shelf, but I will be mounting it permanently on a wall, so having the antenna point upward is a good sign.
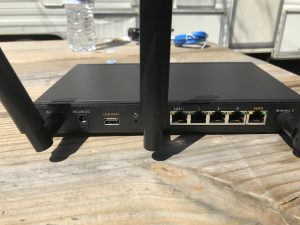 Then, if you have a modem with an ethernet port, plug that in from the modem to the Surf SOHO. Finally, plug in the power and let it boot up. If it is connected to a high speed internet source, it will automatically connect to it and start sending out a wifi signal. If you don’t have it connected to anything, it will still send out the default network SSID, but it won’t be connected to the outside internet.
I changed the name of our SSID from the default and added a more robust password. The password that it comes set with is a combination of model name and serial number and since the same part of the serial number is in the SSID, it could easily be joined if left alone. I then went in and changed the password for the admin account to edit settings since it is also set to be admin/admin. Not very secure, but things like this need to be personalized right away as a general rule.
Settings
There are a lot of settings in the admin pages. I mean a lot. Some of them I am not even sure what they actually do, but I’ll be looking into changing things to better make our system work as we need. To get to the settings, connect your computer to the SSID (the default is listed in the manual), and point your browser to http://192.168.50.1. That will send you to the login page of the router where you can enter the login (admin) and the password (defaults as “admin”). Change the password immediately though to something you will remember and not the same as the wifi SSID password.
On the first page, the Dashboard, it has a list of Priorities where you can add wifi networks to connect to, cable connections, and both 2.4Ghz or 5Ghz. While 5Ghz is preferred because it is faster, not all devices can use a 5Ghz network. Most devices made in the past year or two probably can, but you’ll have to check your specific device to make sure. It is usually referred to as “Dual Band” when it does have the ability. By clicking and dragging on the lefthand part of the element, its easy to move them up or down and set it up so that you get the best connection at any time.
We will eventually have ours use the USB connection to our modem to be Priority One, followed by the wifi network of the campground we happen to be at. At the moment though, our modem has almost no connection whatsoever. When I plugged in the USB cable from the modem to the Surf SOHO, it recognized that it was connected physically, but could not get a signal out to the internet so is useless at the moment.
Instead, I set up a wifi access point and connected to the campground wifi. This is not recommended since it can open up your personal network to the rest of the campground, but with a few tweaks we’ll be exploring in future posts, it can be locked down itself.
Connecting to a wifi network is easy. Simply click on the Connections button in the dashboard and choose the network you’d like to connect to. In our case we have our modem SSID, which sometimes-sort-of-works here, and the campground wifi. When one went down, and it frequently went down, I’d go back to the Dashboard and select the other one. The dropped signal is, I believe, a result of poor wifi and cell service here and not the Surf SOHO. We have trouble connecting anything to either of them and can most of the time not even get enough of a cell signal to even make a phone call.
Connecting to a modem via ethernet or USB can be a bit more involved, depending on your model of modem. There is a long list of supported modems at peplink.com and searching for your specific model in the forums can be of great help. In our case, we have a ZTE Mobley from AT&T and I was able to find specific instructions from other users of how to connect to it. But again, since we have virtually no cell signal where we are currently, I can’t verify that quite yet. We will be in a better location next week though, so I will update this when we get there and I’ve had a chance to lock everything in place to the mode we’ll be always using in the future.
Update the Firmware
As with most electronics, I recommend updating the firmware when you first set it up. Updating the firmware usually has bug fixes and updates to user interface software, so it should be done as soon as possible. However, do no use the builtin update feature. Instead, click on the link in the Dashboard to download the firmware to your computer and then upload it to the router. Because wireless connections can sometimes go down, uploading the firmware of a router directly could result in full failure if the connection goes down mid-download. By downloading it to your computer first, then uploading it to the router (preferably with an ethernet cable connecting the two), you are able to resume the download if it dies for some reason and you’ll know you have the full file before attempting to upgrade the router.
In our case we went from Firmware 6.3.3 to 7.1.0, which I assume is a pretty large update.

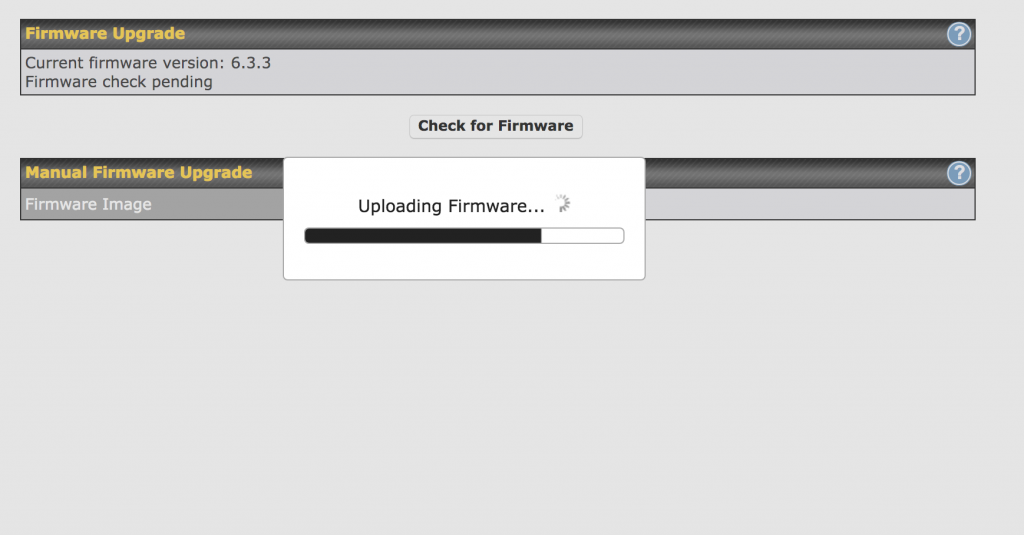
Also note that after you update the firmware, whenever you reboot the Surf SOHO through the admin pages, you can choose to revert to an older firmware if you wish. This is a good thing incase there were any bugs or errors in the new firmware, so downgrading is possible until those bugs are fixed in another, newer firmware update. As is, I did not experience any issues with the update and was able to use it without problem. I didn’t read through the update docs in detail to find out what exactly had changed, but since it was such a big difference in version numbers (6.3.3 vs 7.1.0), I assume it fixes a good deal of issues and increases functionality.
Wifi Range
We live in a 33 foot motorhome that has aluminum siding and roof. The Surf SOHO is currently in the back of the RV where the modem and cell booster are. I had to put it there because the modem has to be within a few feet of the cell booster and the modem will soon be connected to the Surf SOHO through a USB cable. USB cables are limited in length to avoid signal loss and I don’t want to run a USB cable all the way to the middle of the RV, so the Surf SOHO is going to stay where its at.
In its current place, the wifi signal is available throughout the RV with no loss. That is to be expected since it is at most 25 feet away while inside. The true benefit though is how far it can reach outside the RV since we do sometimes work on our computers outside and usually have our phones on us and connected to wifi.
The range is impressive.
At one point last week, the whole campground lost electric so we were outside hanging out with neighbors and chatting. I don’t have a range finder to get an exact measurement, but we were around 200 feet away and in an area normally with a lot of other wifi networks. While we were talking, I checked my phone and saw that I had a connection to the Surf SOHO network. The speed was decent (as decent as this campground gets), but most importantly, it was able to connect from over 200 feet away, through an aluminum wall and with two other RVs in between the router and my phone.
I did not run a speedtest (because, yet again, the outside internet access here is atrocious), but I was able to get my email easily and quickly. While we are not typical users of the Surf SOHO since most will probably be mounted inside an office or home and need to cover as much of the interior space as possible, being able to use our internet access from 200 feet away is great. We will likely never be further away than that and still be needing a wifi connection anyway since most campsites are far smaller.
If we really needed a larger network, I’m pretty sure we could get an improved antenna and hook it into the antenna port on the Surf SOHO and be able to cast our net farther, but in our current situation, we don’t need to do that.
Unconfirmed Issue
The only issue we have had so far, and one that I think is the result of our outside network and not the Surf SOHO, is that the internet connection is frequently lost and needs to be reconnected. I am almost positive it is because both the campground wifi network and our Mobley are just not getting an outside connection that is even remotely good, so the Surf SOHO tries to switch to another outside source when one goes down. I have a feeling that when the signal is so degraded that it can’t get any data, it tries to switch to another source and often fails because the backup source is so bad as well. When we get to our next campground, I’ll be able to confirm or deny what is going on.
I also assume that when we move locations, the Mobley will have a better connection to the outside internet and then we will be able to hook it up through USB and hopefully have a slightly better connection that way as well. If possible, I should be able to connect the Mobley through USB and shut off or hide its SSID broadcast so there isn’t an unused wifi network out there causing interference.
Final Thoughts on the Pepwave Surf SOHO Mk 3
All in all, the Surf SOHO appears to be working well and doing exactly what it is supposed to do. There are many more settings I need to dive into, such as setting up a VPN if I choose to in the future, as well as customizing the Priority networks so it connects to the Mobley through USB normally. Once the firmware is updated, the SSID set, and the passwords changed, there is likely little else you’ll need to do with it. There is no power switch, so once it is plugged in, it turns on automatically and starts broadcasting.
We do have to get our network finalized though, but that can’t happen until we are within decent cell coverage. We will also be adding a network switch and running ethernet cable to the media cabinet up front, so at least one ethernet port will be utilized on the Pepwave Surf SOHO Mk 3. That is a project for the future though, but in theory, everything should be connected together, on the same network, and we will be able to transfer files from one computer to another over a combination of wifi and ethernet.
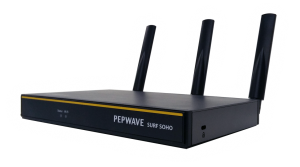 In summary, I recommend the Pepwave Surf SOHO Mk 3 for use in a motorhome. The setup is easy, the range is incredible, and it does its intended purpose. Once set up, it should work without problems and you will only need to login into the admin page to change the wifi network whenever you arrive at a new campground, assuming you will be using campground wifi at all. If you have your own hotspot, its as simple as connecting everything together the first time and then just powering it up when you get to your destination.
We got to a new campground and I was still having issues with the wifi connection between the SOHO and the Mobley dropping. Couldn’t figure out why, but eventually I restarted the SOHO and set it to use the original firmware that came with it and not the update. Now it is connected to the Mobley and has not lost its connection at all. I’m not sure if there is a problem with the firmware, with the Mobley, or if when I downloaded and upgraded the firmware there was some sort of corruption in the file. So at this time, I’m back to 6.3.3 and its been working fine.
Tomorrow, I’ll try reinstalling the firmware and setting the SOHO up from scratch. I’m also set up the Mobley to connect over USB instead of wifi, but for whatever reason, with the updated firmware I installed, it continually drops the wifi connection to the outside internet.
[…] there, the data goes over USB to our Peplink Surf SOHO Mk3. (Review Here!) The SOHO in turn broadcasts a wifi signal which all of our other devices connect to. It usually is […]
Yet another update: The issues with the SOHO not connecting was definitely because of poor LTE signal from our modem. When we were at a campground that has much better LTE, the SOHO performed flawlessly. I did have to reboot it occasionally, but only about twice a week. The LTE connection would sometimes go down in speed to under 1Mbps and then the SOHO would seem to lose its connection, but after a few minutes, or once in awhile a reboot, it went back up to full speed.
I also checked speedtest.net through both the modem directly and the SOHO. There is some loss of speed, but it is not much. We usually got between 12-20Mbps download and similar upload, and through the SOHO, the loss was usually less than 1Mbps.
[…] I can get a bigger switch to connect more devices to or even add a second one. Our router, the Peplink Surf SOHO Mk3 has five ethernet ports on it and one will be used for the initial switch. Adding a second switch […]
[…] ConnecT is set up as the backup internet source for our router. We have a PepWave SOHO Mk3 that broadcasts a wifi signal and is tethered to a modem over USB. If that modem ever goes down, […]
[…] little over a year ago, we received a Peplink Pepwave Surf SOHO Mk3 Router for review. The original review and setup guide is found here. As an update to that review, this post is all about how it has fared, what we’ve had to do with […]