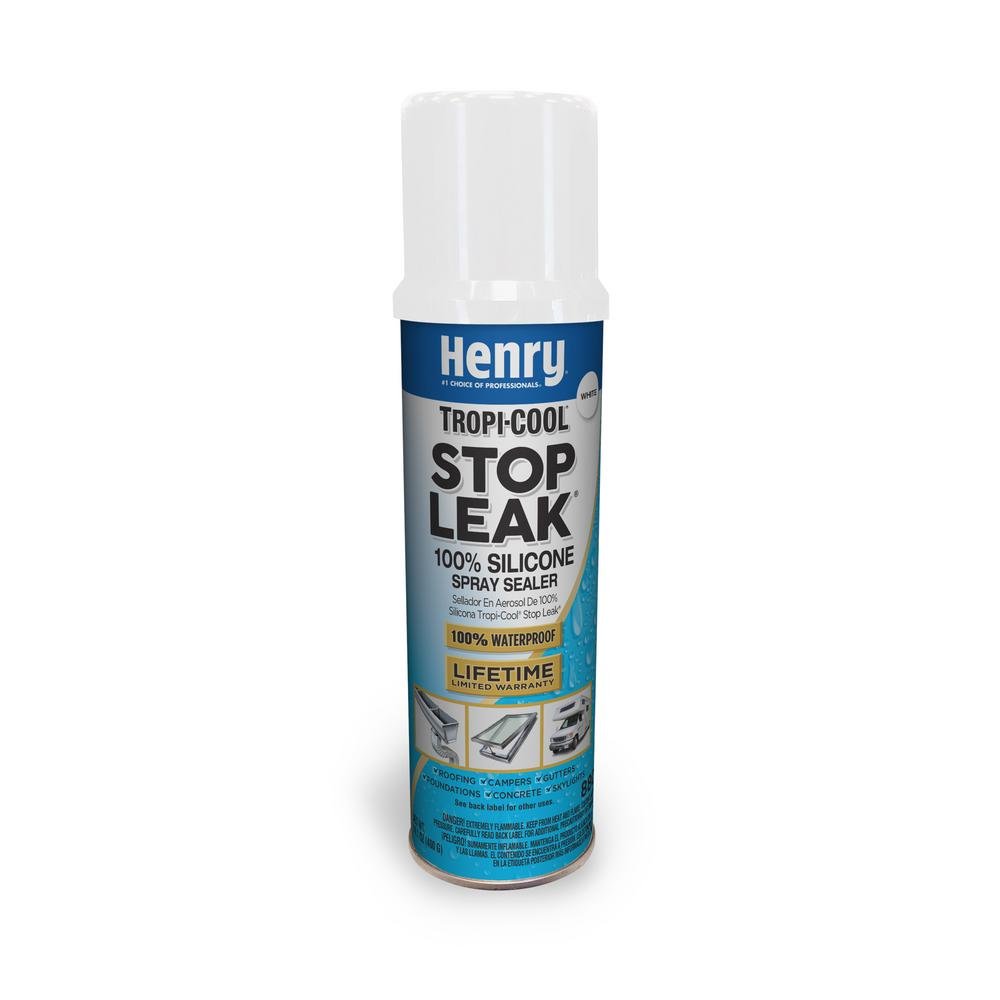
I received some products from Henry Company for review. While I have a lot to work with, I started with the smallest project first and will be doing more in the coming weeks. To start with, we used the Henry 14.1 oz. Stop Leak Tropicool Silicone Clear Spray Sealer.
To start with, I do not recommend buying this product from Amazon. For some reason, it is currently over twice as expensive there as it is from other sites, such as Home Depot. Most of our affiliate links are Amazon, which is why it is included there, but there are other, much cheaper options out there for it.
Now, as to how it works.
Prepping the site
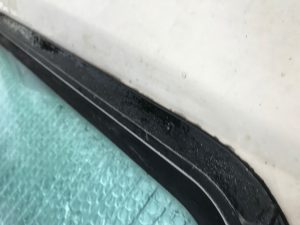
In our situation, we had a leaking window up above the cab that seemed like a great place to try out the Stop Leak. It only happens when it rains, and having looked at the sealant currently there, it was obvious it needed work. Since our RV is 30 years old, it had 30-year old caulk and other products on it, all of which needed to be removed. While I’d eventually like to take out the window completely, tint it, put something in between the window frame and outer shell, then replace it all and seal around it, that is a much more involved product for another day.
 |
 |
For now, I had to remove everything that was there. I probably could have sprayed over the buildup, but it would be ugly and wasteful. Using a putty knife and utility blade, I chipped away at the stuff around the outside of the window until it was as clean as I could get it. With everything gone and the site cleaned, it was time to spray on the Stop Leak.
Applying the Stop Leak
I’m not sure why, but I assumed spraying on the Stop Leak would be a fan spray, similar to a can of spray paint. It is not though, it is a much more concentrated stream. While it is more precise this way, it also results in a lot more sealant being sprayed in one spot and really only requires one coat to cover it completely.
Seeing as how it is a somewhat vertical surface, I started at the top. While the Stop Leak does dry solid, it is still pretty runny when first applied. I used much more than I needed, simply because I did not know ahead of time how much out come out and how to apply it correctly.
Also, because it is a liquid when coming out of the can, I did have to wipe some up that dripped down the glass and the roof since I put too much on. With this product, start with as little as possible and add more if needed later.
The good thing is I never had to worry about pushing it into crack or making a rounded edge like I would have with traditional caulk. Just spray it where you want it, clean up any that might have run over, and let it dry. That is really all there is to it.
The key is moderation though. It is easy to spray a lot on, have way too much, and then have to clean it up after having wasted a bunch. If you start small and work up, you will obviously have less waste and a can will go much further.
Results
After drying, the Stop Leak is basically impossible to detect. It has a slight glossy sheen to it, but from the ground, I cannot see it at all. Up close, as in a few inches away, it is possible to see it which is helpful to make sure no spots have been missed.

I do have to wait for a nice thunderstorm to see if we have any leaks, but we are currently in Florida, so that should happen any day now. I did spray some water on it and it seemed to work, but we only had an issue with heavy wind and rain in the past. I’m going to do the window on the other side next, but waiting for a nice, cloudy day to make that happen.
By appearance, the clear Stop Leak is about as invisible as you can get with silicone. I can see it enough up close to know where I applied it, but it is not a shining beacon from the ground.
The best thing, and possible the hardest thing to adjust to, is the fact that the Stop Leak is a liquid when coming out of the can. Its thinner than I expected which took some adjusting to apply properly, but that also means it got in every little crack and crevice, leaving no spots for water to get through.
I am also not certain how much is in a can. I was able to completely cover the seam around one window and used the rest to spray about half of the junction between aluminum and fiberglass our roof. That does not seem like a lot, but I am sure I wasted plenty by not knowing how to apply it correctly the first time. With the next window, I’m sure it will go a lot further simply because I’ll know what I am doing and won’t waste as much.
For the cost, the Stop leak is worth it. Even at $25 a can, it is kind of expensive, but it is easier to apply than even silicone from a caulk tube and should seal the cracks easier since it is so much thinner. In appearance, being nearly invisible, it can be used anywhere on the outside of an RV and shouldn’t be obvious after it has had time to set.

[…] from Henry, namely Tropi-Cool Roof Sealant Products. In a previous review, I applied and tested the Stop Leak Silicone, which has worked well. This time, I tried out the smaller bucket of the whole roof sealant in a […]