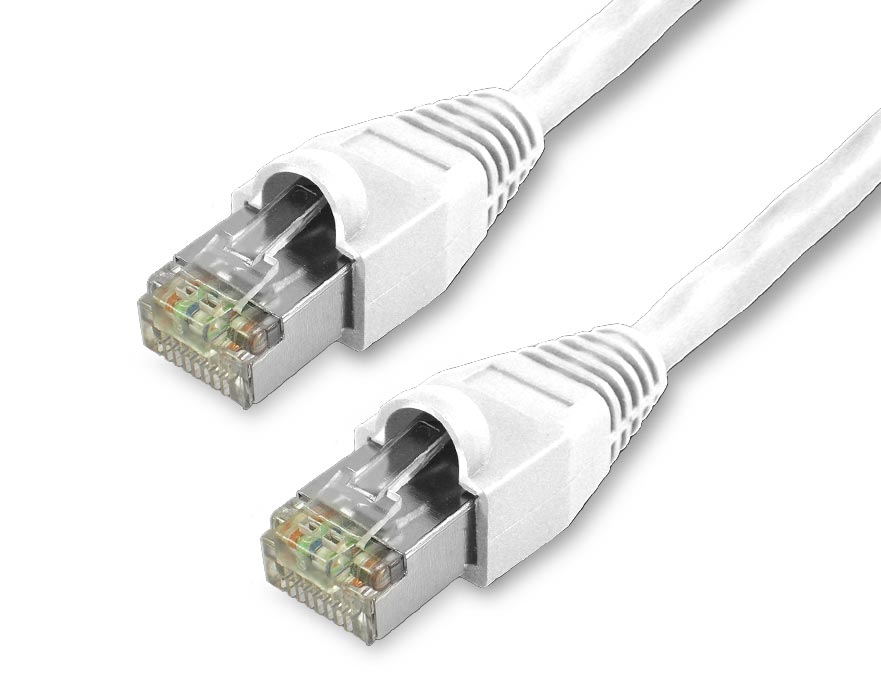
Rvs are not generally wired for ethernet. In fact, I’ve never heard of one that had ethernet run through the coach. Its also not like a house where there are voids in the walls and other cables that can be followed and used to pull cables through. With the availability of wifi, you may wonder why one would even use ethernet, but sometimes it is needed or at least helpful.
Today, I’m running ethernet cable. Our RV is a 1988 Tiffin Allegro and built well before wifi was available. It obviously does not have any sort of internet connectivity built in, so we have to make it work ourselves. We have a setup that can be read about at our Mobile Internet Setup. Its a bit complicated, but it works for us. For now though, we want to have some devices hardwired with ethernet instead of relying on wifi all the time since it will be both more secure and faster, and just maybe having fewer devices with wifi active will reduce the wifi traffic and clear up the airwaves a little.
Running Ethernet
In our situation, I installed the SureCall Fusion2Go 3.0 RV in the back cabinet. In hindsight, that was a bad decision. It would have been better used up in the electronics cabinet, but because there was DC power back there already, I figured I’d run the antenna cable to the back cabinet where there used to be a small TV. Because the cell booster has a limited range that it is effective, I put the modem back there as well, sitting right next to the booster. The modem has to connect to the router (our modem has a 5 device limit, so adding a router made it possible to connect as many devices as we want) over USB. USB has a 15 foot limit for the cables to work without signal loss, so I had to put the router back there by the modem as well. That router is a Peplink Surf SOHO Mk3, which has worked well once I got it set up properly.

But now I want to connect some devices to ethernet and not rely on wifi. To do that, I need to get an ethernet cable from the location where the router is to the spot where those devices are. Since they are all up front in the electronics cabinet, that means running a wire all the way up there. Since we will have several devices connected to ethernet (at the moment there are only two), that means adding an ethernet switch. I was able to get one from my brother that is a Cisco model and has 8 ports. One is used for the cable to the router, which leaves seven open ports. I tested all of the ports out before I ran the cable, as well as testing the cables themselves before pulling them through cabinets and found that two of the ports don’t work. So out of eight ports, we can connect five devices. Its still more than enough for now, but in the future we might need to replace it, depending on what all we add.
So now, we need to get an ethernet cable from the back to the front. There is a bunch of stuff in the way, so finding the best path is difficult at best. Fortunately, I’ve run a cable part of this way before, so I have an idea of where to go and how to get there.
Instead of pulling the entire length of the cable from one end to the other, I started in the middle. Under our fridge, there is access into the basement, holes from the heat ducts through the walls and cabinets, and I had run a wire for our backup camera through there, so I already knew where it was going roughly. Going under the fridge was easy, I had to pull out some drawers to reach behind and pull it through. Then it goes up next to a an exhaust pipe for the gray water, and through a hole I had drilled for the camera wire. Then through another cabinet, underneath the upper cabinets in the bedroom, and into the back cabinet that runs the width of the RV.
I chose to run it underneath the cabinet instead of inside it because that is where the electrical breaker and fuse panels are. I don’t want to open those up, not even sure if I can, so I went under it with the camera wire and just followed the same path. There is a hole that goes up into the cabinet at the back, but it was barely big enough for the camera wire, so adding the ethernet too it was not easy. Through careful pulling, figuring out which part to put in first, and half an hour of sweat and swearing, I was able to get the cable through.
It then runs parallel along the back of the RV through the cabinet and comes to another wall, this time into a cabinet on the driver’s side. I’m trying to drill a hole in there to run it through and my battery powered drill is not powerful enough. I ran it for awhile, its now charging, and when its back to 100%, I’ll finish it. Then there is only one more hole to drill and I can run the wire into the cabinet where the router is. It gets plugged into the router, and then we are about halfway done.

Then there is the other end.
The cable goes down into the basement unit and forward to the area under the electronics cabinet. But we have to get it up into the cabinet. Normally, I’d just run the wire up the wall and attach it so it doesn’t move. But unfortunately, we have a cat that likes to chew on wires, so I have to protect them from her.
To protect the wires, I’ll have to either put them in some sort of conduit or wire wrap. I’d prefer a permanent solution with a piece of PVC that can be attached to the wall, painted and covered up, but for now its going to just be wire loom. I’ll have to adhere it at the top and bottom so it stays taught though and not allow any slack. I have zip ties that I think I can use to put a little tension on it to prevent sagging.
Then its just one simple hole drilled into the electronics cabinet and we have wired ethernet to attach to the switch and plug in the Raspberry Pi’s and any other device we want to put in there.
The cable I’m using for the main line is far longer than it needs to be, so when we are all done, I’m going to pull it through so all the extra is at one end and we’ll cut it down to be the length it needs to be and use the excess to make a few shorter cables to attach the devices to the switch. There is no reason to have all that extra cable floating around in the cabinet, and it saves us a few dollars by not having to buy short ethernet cables for the devices that are there. I do have some spares, but there’s no reason to use 6 foot cables when I can just make some that are only a foot long.
And then, our Plex Media Server and RetroPie boxes will be connected to ethernet and I can go in and shut off the wifi completely for them. It should help with streaming to our Rokus since the connection from Pi to router will be wired instead of wifi, and transferring files over to either of those should improve as well.
In the future, I’ll be adding an Xbox 360 which I’m hoping to connect through ethernet as well as another Pi to be a file server and backup machine. I need to save some money to buy the Pi, hard drive, and cables, but once I have that setup, we will have a network shared drive that we can mount when on our network and have it automatically back up to OneDrive so we can access those files when not on our network. That’s for August though, getting this part done is enough for today.
